You Tube Installing Hardwood Tongue And Groove Flooring

How To Lay Flooring Part 4 Laying Tongue Groove Solid Wood Youtube

How To Install Hardwood Flooring For Beginners Youtube

How To Repair A Tongue And Groove Wood Floor This Old House Wood Floor Repair Old Wood Floors Flooring

How To Install Tongue And Groove Wood Flooring Youtube Flooring Wood Floors Tongue And Groove

Diy Installing Tongue And Groove Wood Flooring Youtube

A Step By Step Guide On How To Install Tongue And Groove Bamboo Flooring Over Underlay Www Bamboof Bamboo Hardwood Flooring Bamboo Flooring Floor Installation

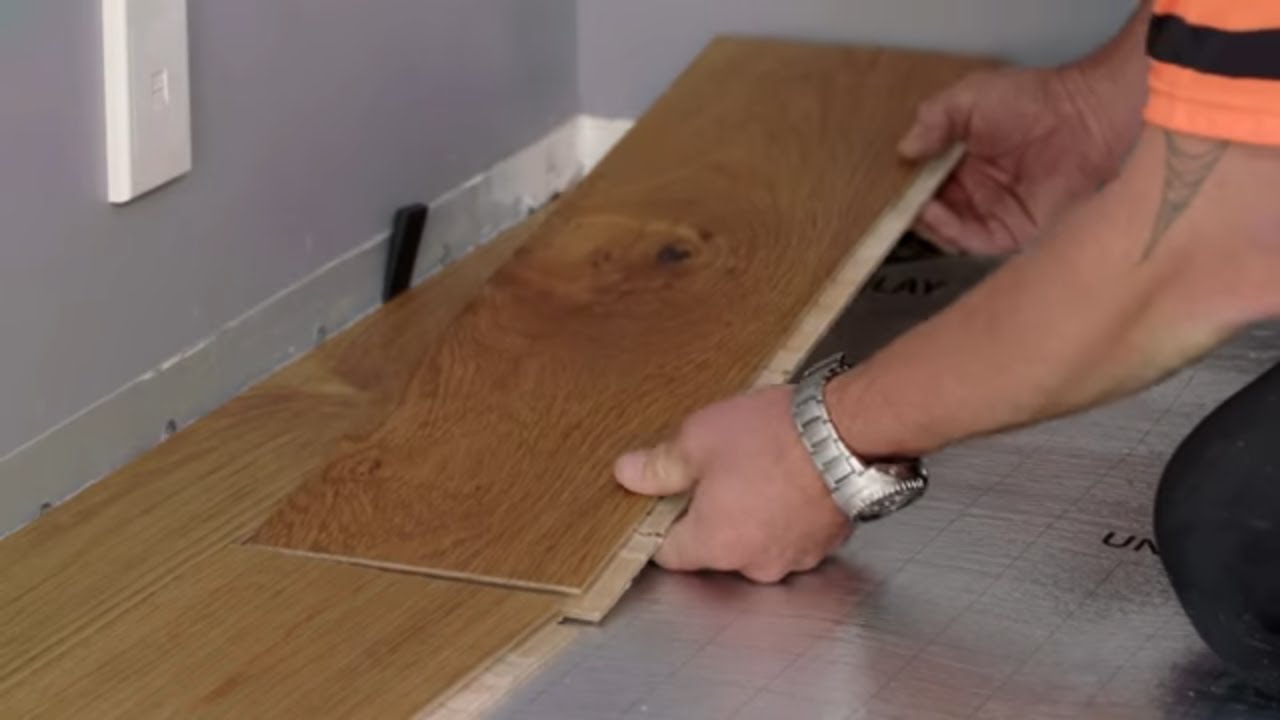
On the last row cut the pieces to fit measuring the distance from the wall to the board not the tongue minus the expansion gap.
You tube installing hardwood tongue and groove flooring.

58 How To Sand Refinish Hardwood Floors Youtube Refinishing Hardwood Floors Hardwood Floors Wood Floors Wide Plank

How To Install Engineered Tongue Groove Flooring Youtube Tongue And Groove

Wood Flooring Spline Reverse The Direction Of Floor Wood Floors Laying Hardwood Floors Installing Hardwood Floors

Tongue And Groove Flooring 101 Installing Hardwood Floors Prefinished Hardwood Flooring Sale

How To Install Nail Down Unfinished Hardwood Floors Wood Floor Installation Unfinished Hardwood Flooring Unfinished Wood Floors
How To Lay Wood Flooring Diy Projects Youtube
How To Install Click Together Flooring Mitre 10 Easy As Diy Youtube
2027 10 Beginner Mistakes Installing Vinyl Plank Flooring Youtube In 2020 Vinyl Plank Flooring Installing Vinyl Plank Flooring Vinyl Plank

Installing Vinyl Floors A Do It Yourself Guide The Honeycomb Home Plank Flooring Diy Diy Flooring Installing Vinyl Plank Flooring

Waterproof Loose Lay Vinyl Plank Flooring Supreme Elite Freedom Youtube 50 Year Warranty Vinyl Plank Flooring Plank Flooring Vinyl Plank

How To Lay Floorboards Part 4 Laying Tongue Groove Solid Wood Youtube Hardwood Installation Flooring Installing Hardwood Floors

Elegant Photo Unfinishedwideplankfloor In 2020 Engineered Wood Floors Engineered Wood Hardwood Floors

How To Replace Hardwood Floor Boards In A Tongue And Groove Floor Youtube Tongue And Groove Flooring Floorboards

Installing Home Depot S Allure Vinyl Flooring Was A Breeze We Did The Entire First Floor Of Our Allure Flooring Allure Vinyl Plank Flooring Floor Installation

How To Install Vinyl Flooring Over Tile Thrift Diving Vinyl Flooring Linoleum Flooring Vinyl Flooring Installation

T Floor Spacer Demonstration Youtube Vinyl Plank Flooring Vinyl Plank Wood Laminate

How To Install A Herringbone Wood Floor Youtube

How To Repair Or Replace A Damaged Section Of Sub Floor Youtube Diy Home Repair Home Repairs Mobile Home Repair
Https Encrypted Tbn0 Gstatic Com Images Q Tbn 3aand9gcth5yod0hsuqufh2nntves8irt4wwwt4ryq58fuibn2qbhraq30 Usqp Cau

Metal Transition Strip Between Hardwood Flooring And Tile How To Install Youtube Ceramicfl Transition Strips Tile To Wood Transition Floor Transition Strip

Floating Laminate Floor Useful Tips Floating Floor Flooring Types Of Flooring

How To Remove Floor Wax Youtube In 20 Amazing Hardwood Flooring Wax Flooringideas Floorsideas Refinishing Floors Floor Wax Hardwood Floors

How To Lay Flooring Part 4 Laying Tongue Groove Solid Wood Youtube Tongue And Groove Flooring Modern Flooring

Pin On Leftover Flooring Ideas And Diy Projects

Youtube Barn Art Wood Floors Patina Wood

By Steps Behind Tv How To Repair Wood Floor Without Refinishing Youtube Wood Floor Repair Wood Repair Wood Floors

How To Lay Laminate Flooring Going Through A Doorway Laying Laminate Flooring Laminate Flooring Inexpensive Flooring

How To Install Herringbone Hardwood Floors Youtube

Scandi White European White Oak Flooring Elmwood Reclaimed Timber White Oak Floors White Oak Flooring

200 Years Old Pine Floors I Think It S Best To Wax Them Yearly Than To Cover With Varnish More Natural Brings Out The Tru Wood Floors Pine Floors Flooring

Home Decor Ideas Official Youtube Channel S Pinterest Acount Slide Home Video Home Design Decor Interior O Flooring Herringbone Tile Vinyl Plank Flooring

How To Install Hardwood Floor Home Building How Too Installing Hardwood Floors Hardwood Floors Hardwood

Cedar Tongue Amp Groove Veneer Garage Door Diy Installation Time Lapse Youtube Diy Garage Door Garage Door Makeover Garage Doors

How To Make A Tongue And Groove Joint Tounge And Groove Wood Joints Woodworking Projects Diy

Tongue And Groove Vinyl Tile Flooring Luxury Vinyl Flooring Vinyl Flooring Vinyl Tile Flooring

Laying Floating Solid Wood Flooring On Concrete Together With The Ever Increasing Popularit Best Wood Flooring Floating Hardwood Floor Laying Hardwood Floors

Prefinished Cabin Grade Natural Red And White Oak Mix By Somerset In Mooresville Nc Hardwood Floors Prefinished Hardwood Prefinished Hardwood Floors

Prefinished Cabin Grade Natural Red And White Oak Mix By Somerset In Mooresville Nc Hardwood Floors Prefinished Hardwood Prefinished Hardwood Floors

How To Decorate Split Level Stairs Installing Hardwood Floors Laying Hardwood Floors Laying Wood Floors

Installing Laminate Wood Flooring Close To The Patio Door Youtube Patio Doors French Doors Wood French Doors

Tongue And Groove Flooring 101 Homemade Wood Floor Cleaner Wood Floors Wide Plank Wood Floor Cleaner

How To Install A Tongue And Groove Ceiling New Homes Tongue And Groove Ceiling Remodel Bedroom

How To Install Pergo Flooring Chapter 5 Installing Pergo Click Joint Youtube In 2020 Pergo Flooring Floor Installation Flooring
Https Encrypted Tbn0 Gstatic Com Images Q Tbn 3aand9gcqi3 K6zci1kfkk6iinddn5ckazj3uqejxkdtvrdumn J X3ww5 Usqp Cau
Source : pinterest.com
